My cousins Lori and Mary, and yours truly. I asked my friend Lilzy, who did my makeup, to put a rose on my forehead in honor of my Aunt Rose, my cousins’ wonderful Mom.
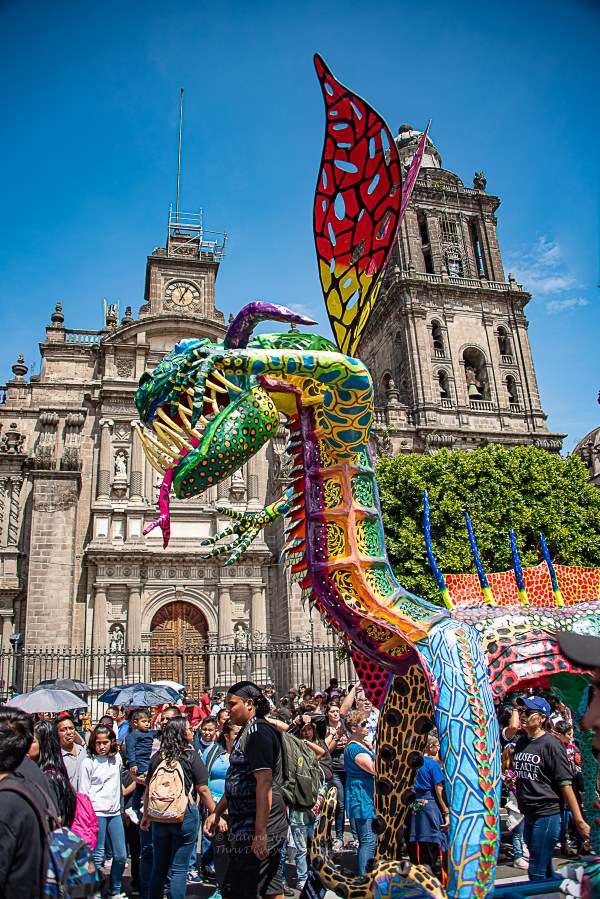
Do you love Day of the Dead? We all know Mazatlán has one of the BEST DODs in all of Mexico, what with the callejoneada parade, the incredible show inside the Angela Peralta Theater, the numerous gorgeous altars all over town, and events at the cemetery. Do you love joining in the traditional festivities? Would you like to be able to do your own or your friends’ makeup?
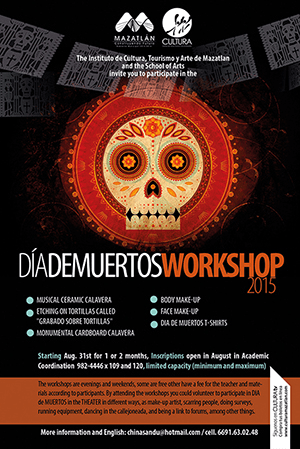 This September and October, our beloved Centro Municipal de Arte/CMA/Municipal School of the Arts has been conducting free workshops in preparation for these big events, coordinated by the gorgeous, energetic and enthusiastic Cecilia Sanchez Duarte (nicknamed China). The latest was yesterday’s class in calaca (skeleton) or catrina makeup, conducted by Delfos dancer and makeup artist, Johnny Millán, with interpretation into English by China herself. It rocked!
The class was held from 5-7 pm in the air-conditioned comfort of the Jonathan Hotel, just across from the CMA, and was attended by about 40 people. China arranged the class in hopes that more and more of the city’s residents will dress up and volunteer to participate in the main events, including the parade and the performance in the theater.
The timing of this workshop was perfect for me, as my two beloved sister-cousins were visiting from Minnesota and Indiana. We get together for a girls’ vacation every October, and we always do a craft. What better “craft” than a Day of the Dead makeup class with a professional makeup artist—for free?!

Cecilia Sanchez Duarte, director of Fine Arts at the CMA, in charge of Day of the Dead in the theater
Supplies for the Basic Makeup
Prior to the class, China had sent those of us who pre-registered a list of supplies to bring:
- White concealer (corrector blanco),
- Black eyeliner pencil (lapiz negro),
- Black and white powders or eyeshadows (sombras),
- Eyeshadows of different colors, and
- Shiny things (e.g., sequins—lentejuelas, or crystals/gemstones). We also brought
- Fake eyelashes (which we didn’t have time to apply) and
- Eyelash glue, a couple of
- Hand mirrors, a box of
- Kleenex, and some
- Props—a catrina hat and a couple of feather boas. I rarely put on makeup, so what we forgot to bring were
- Brushes, Q-tips, applicators and blending sponges, also highly recommended.

Johnny Millán, Delfos dancer, professional makeup artist, and our teacher for the day
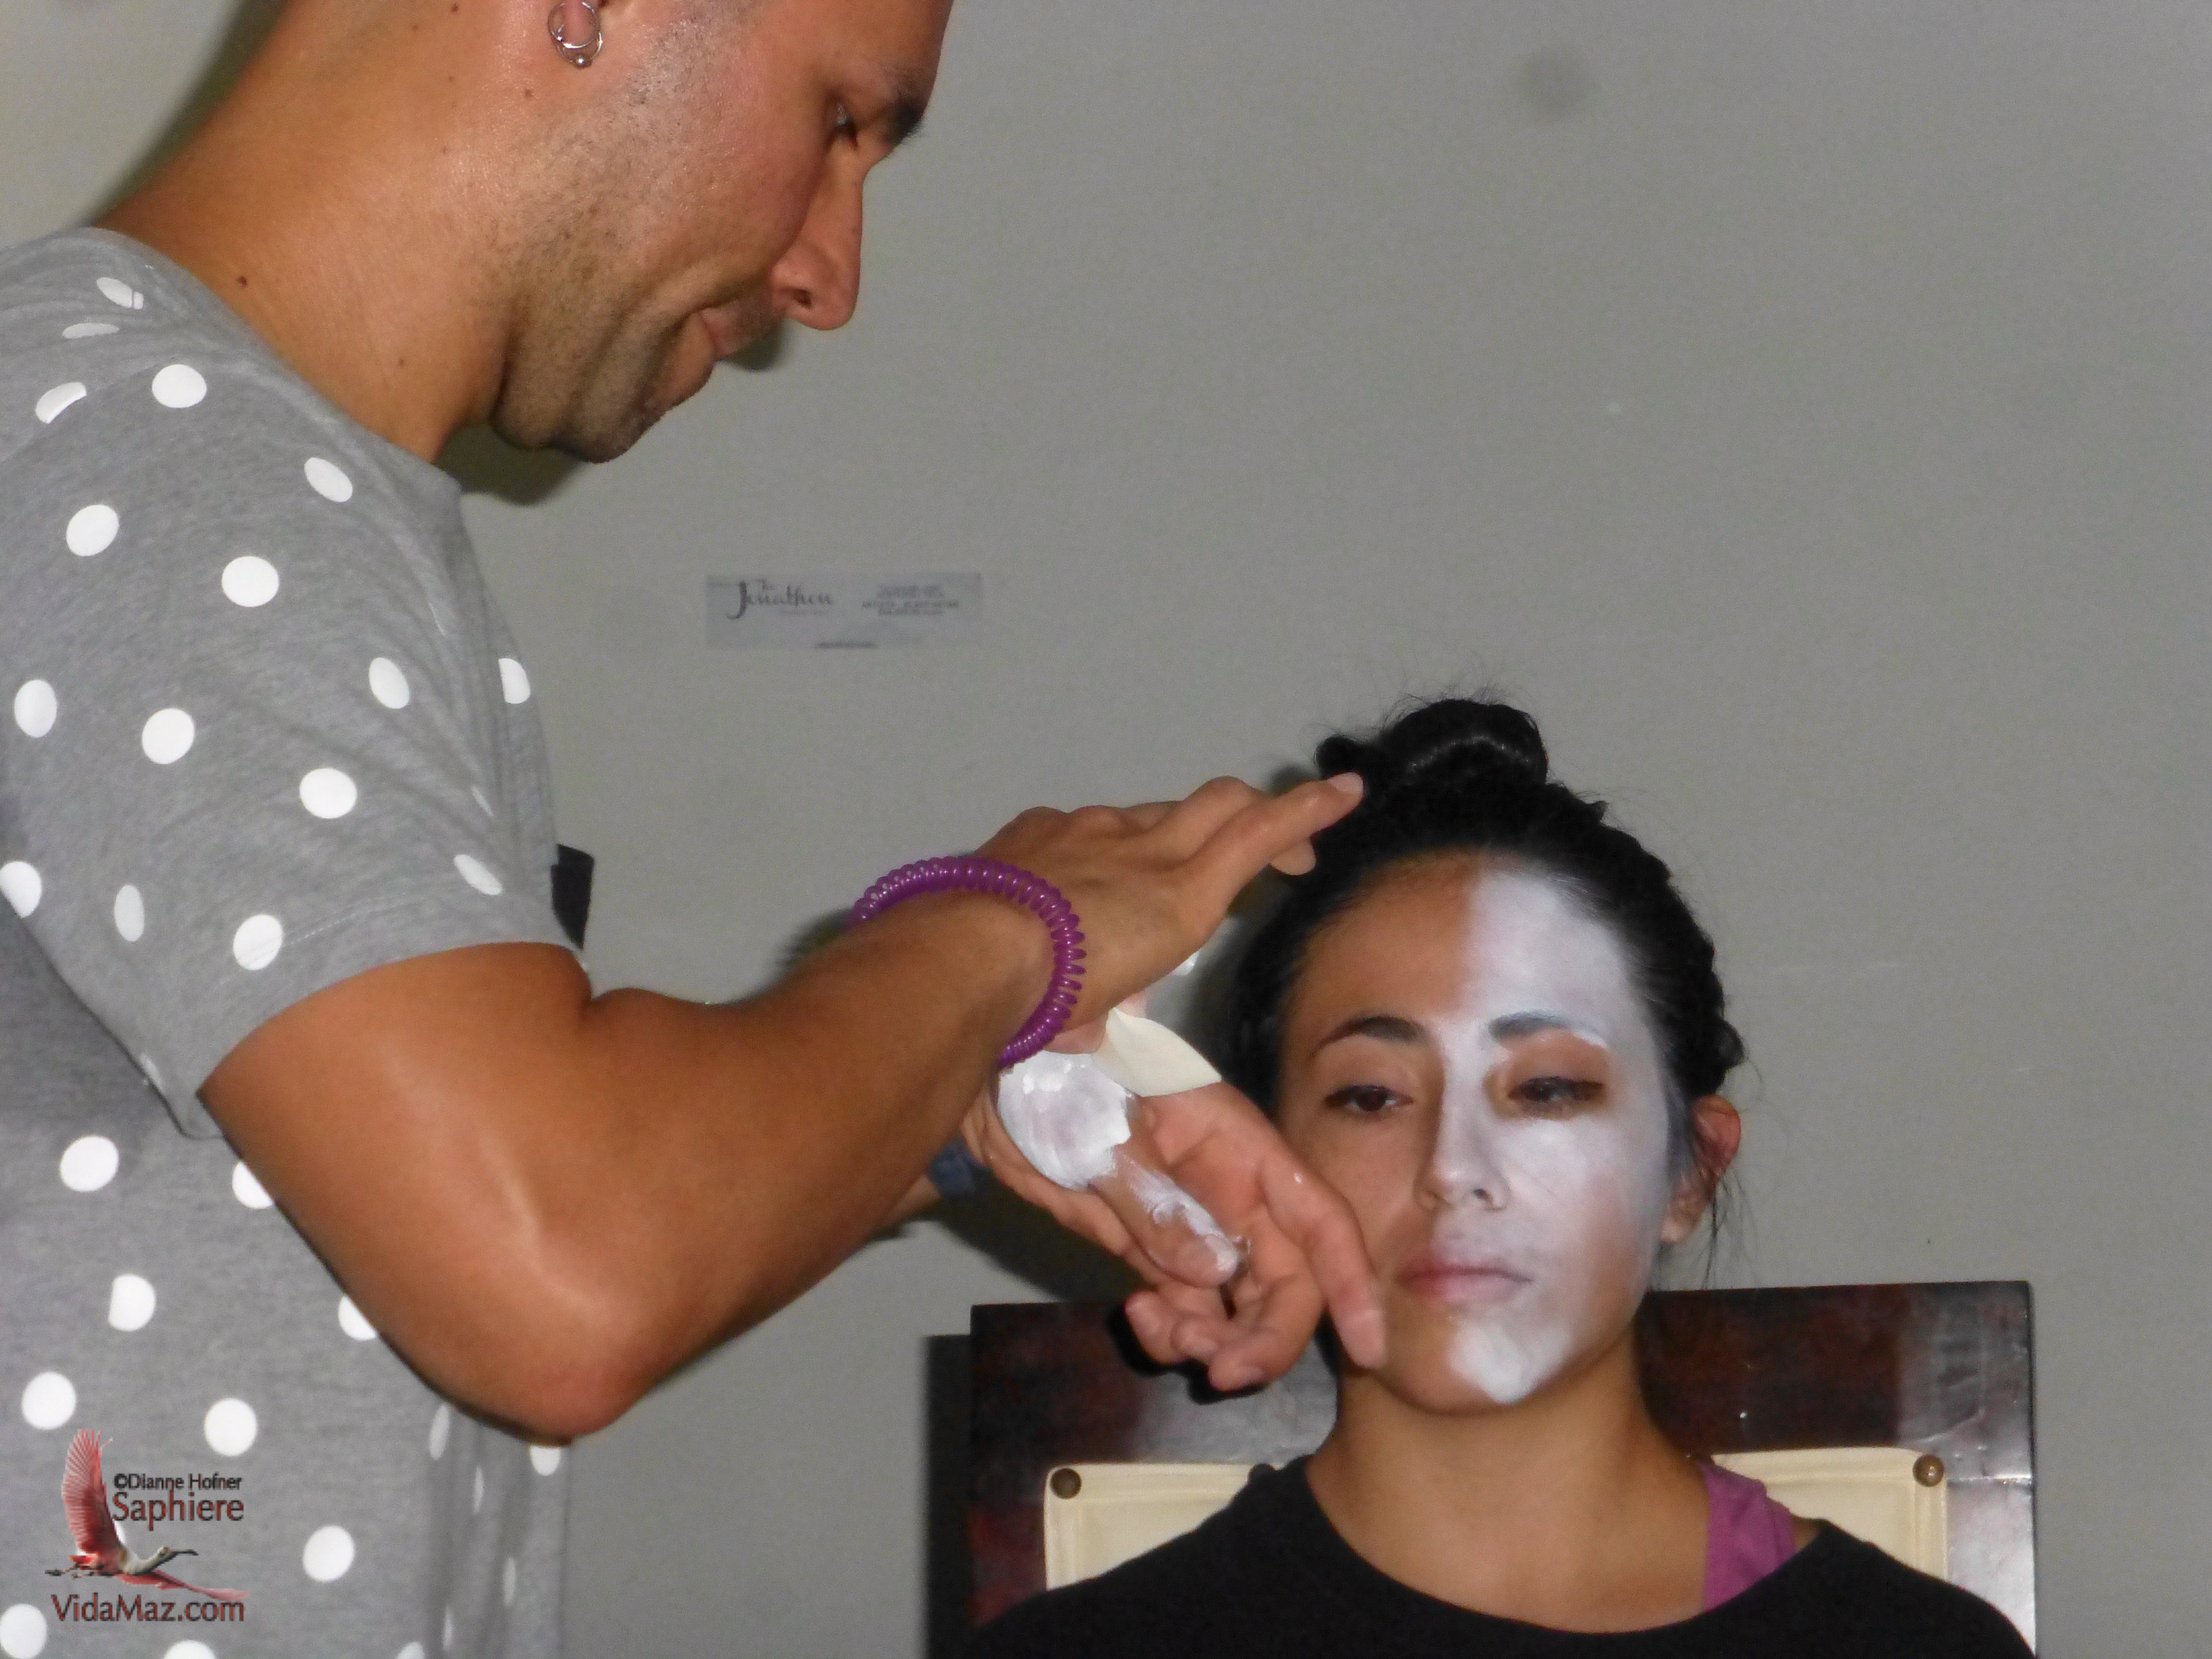
Maestro Millán first talked to us all as we sat theater-style, explaining the different types of makeup, brushes and blending pads he likes to use. He told us that while we can’t get professional-quality white pancake theater makeup here in Mazatlán (he brings his from DF), the concealer works well. We’d just need to break off pieces and mix it into a paste (which we could do on the backs of our hands) till it was smooth and free of clumps.
He demonstrated the steps to a basic catrina makeup on a model, doing just half her face in order to save time on his explanation. After his demonstration, those of us attending got to either apply makeup to one another or to ourselves. We were all so excited to get started! He had some supplies to sell us, and was happy to share Q-tips and other applicators.
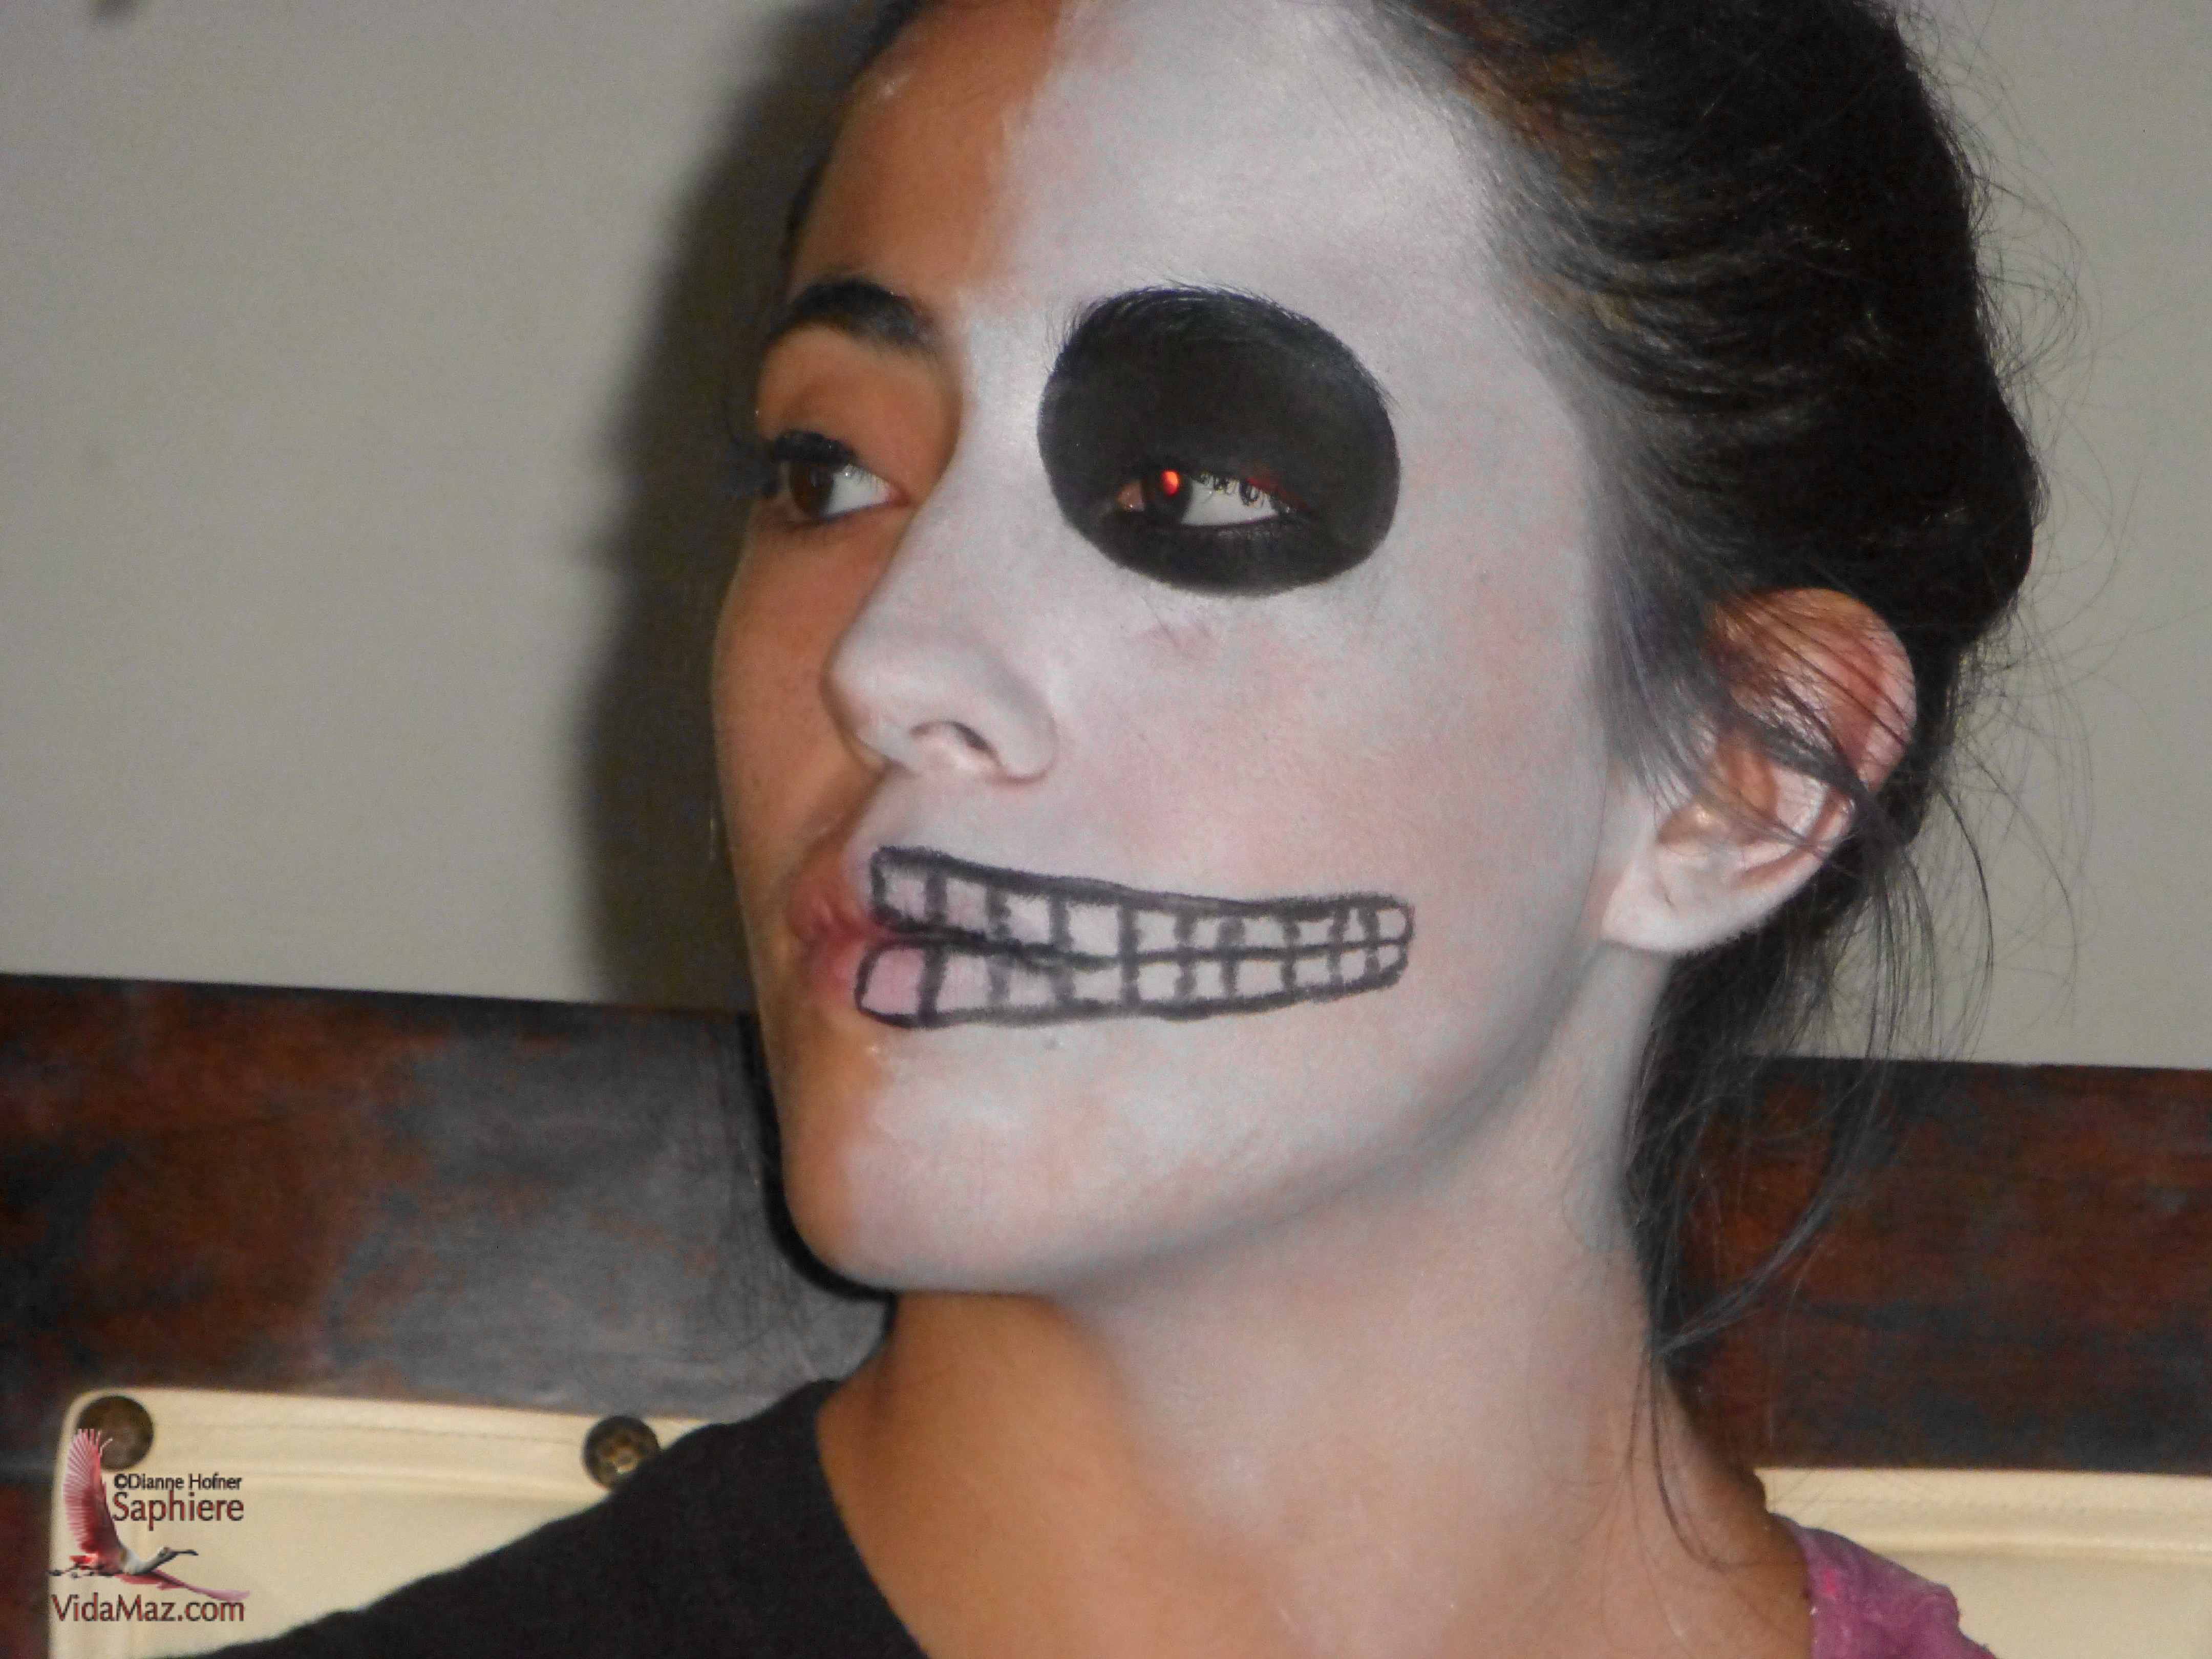
In the 90 minutes or so that we had available to do one another’s makeup, the most any of us were able to achieve was the basic makeup, with a teeny bit of customization. While we were working on the basic steps explained below, Maestro Millán finished up the makeup on the model. You can see what she looked like in the final photo in this post. Needless to say, the Maestro was fast, made it look so easy, and had really great results. That’s why he’s the professional, right?
Steps to the Basic Makeup
- Johnny showed us that the first step to creating a catrina makeup is to apply a thin white base coat. For this we used the concealer that we’d made into a smooth paste. He told us to apply this with our fingers or with a sponge, and that we don’t need to blend the white to cover the face perfectly; later when we apply white powder or eyeshadow over the concealer to fix it, the coverage will become much more perfect. He told us to be sure to avoid applying white to the area around the eyes, as we’d later paint them black or in colors, and to think about the costume we are going to be wearing: if our hair will be up, we should paint our ears; if we’ll have a plunging neckline, we’ll need to paint our chest, etc. Be sure not to put the white on too thickly; you can see in the photo that the base coat is very thin.

Step 1: White base coat
- Next we took a brush and set the base coat with a dusting of white powder or white eye shadow. This step was incredible. It really made the base coat look well blended, and it made the color pop! Not being a makeup queen myself, the power of the powder over the makeup really astounded me.

Step 2: White powder to seal the base coat
- Once we had our white face on, we proceeded to the eyes. Johnny told us to use the black eyeliner pencil and, in the direction of the growth of hairs on our eyebrows, to trace the brow line and then around the cavity of the eye, following the bone of the eye socket. Once we had the outline, we were to fill the area in with the black eyeliner pencil. Again, we didn’t need to worry about perfectly blending, as we’d next cover this area with black powder or eyeshadow. If you want to put colors on the eye area, you can apply glitter or shadow over the black, or you do it directly to the skin, depending on your creativity.

Step 3: The eye sockets
- We now needed to seal the black eyes with shadow or powder. Again, our rough-looking black eyes suddenly became velvety smooth and perfectly blended. It was amazing.
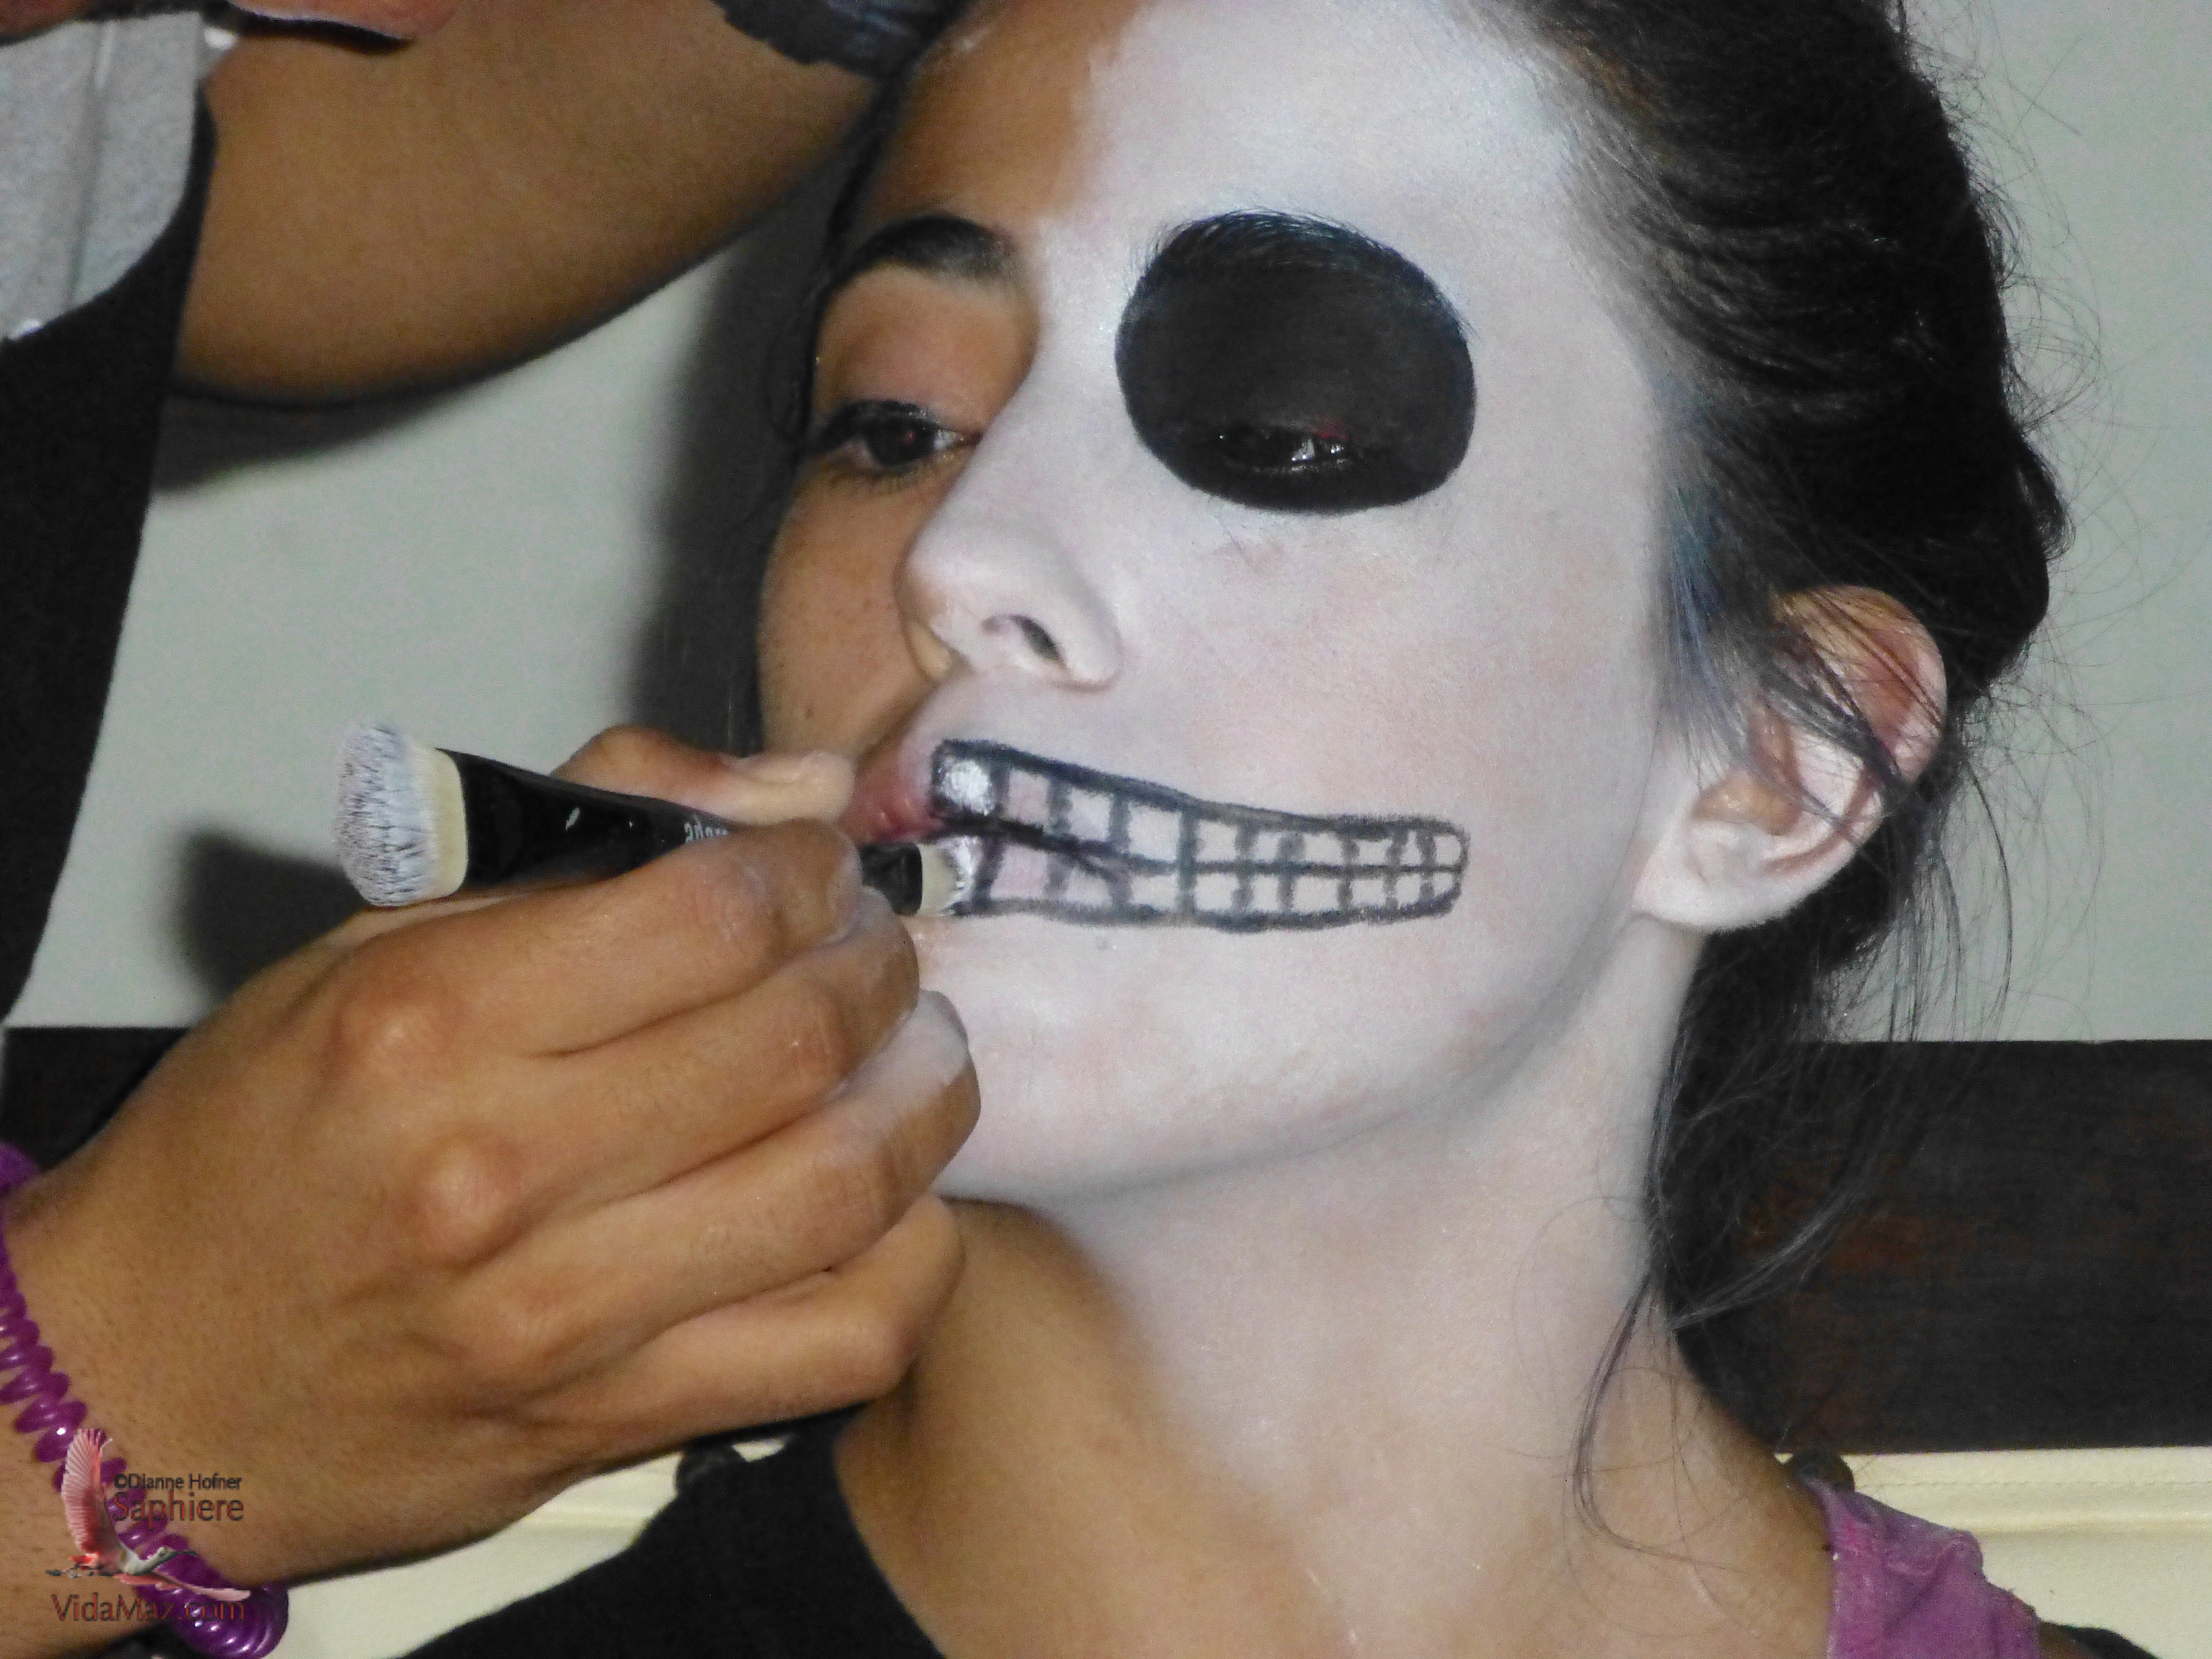
- From here Johnny told us to work on the mouth. This was by far the most difficult part of the basic makeup for most of us in the class. He told us to follow the upper and lower lip lines, and extend the line out to where the teeth actually end in the back of the mouth, squaring off the outside. We then needed to make a center line, right where the lips meet, painting inside the lips a bit so the pink didn’t show. After that we made vertical lines to create teeth. One trick here is to round the roots of the teeth a bit with the eyeliner pencil, so they are not square but more natural looking.

Steps 4 and 5: Sealing the eye sockets and outlining the teeth
- It was important for the teeth to be bright white, so at this point we took an applicator and applied another dot of white concealer to each of the pearly teeth. This really made the teeth look real.

Step 6: Making the pearly whites pop
- The final main feature was the nose. We drew triangles over the nostril area, to look like the holes in a skull.

Step 7: The nasal cavity
- To finish the basic makeup, we needed to use the pencil to draw the jawline, and then seal that with black powder. We also dabbed black powder around the hairline, and used it to hollow under the cheekbone.

Step 8: Shadowing and contouring the facial outline and bone structure
- From here, Johnny told us our creativity could take free rein. We could put sequins around the eyes (he said we could use eyelash glue or even normal white Resistol water-soluble glue), liquid eyeliner to paint some cracks or decorative detail (sealing those details with powder), adding colored eyeshadow or glitter to the eyelids, or detailing the neck and chest. Click on any photo to enlarge or view a slideshow.

Sequins around the eyes

Painting decorative detail with a liquid eyeliner

Throat detail

Note the glitter on the model’s eyes…
Fortunately most of us attending felt that the makeup was pretty easy to do, and it was really fun! While 45 minutes for each face (our group painted one another) isn’t much, we were pretty psyched with the results.

My cousins did each others’ makeup.

My friend Jessica made herself up as she had to leave early to get to the theater

My friend Lilzy and I made each other up.

The three cousins!

Cousins, Lilzy and Jeanette

We loved this guy’s makeup!

Lilzy making me up.

After class we created quite a stir when we had a drink in the Machado.
 Day of the Dead Parade and Theater Event in Mazatlán 2015
While having a professional do your makeup here can be very affordable, now that I know how to do it, I’m so looking forward to opening a bottle of bubbly and sitting down with a few friends in front of the mirror on October 31.
That’s right! The callejoneada is on Halloween this year. Cecilia told us that’s because we normally do the parade on November 1st. This year, that date falls on a Sunday. CULTURAL didn’t feel they could ask all the volunteers to work on Sunday, and they’d have to pay overtime to those who are paid, so instead they’ve switched it to Saturday this once. Next year, she tells me, it’ll be back to the regular November 1st.
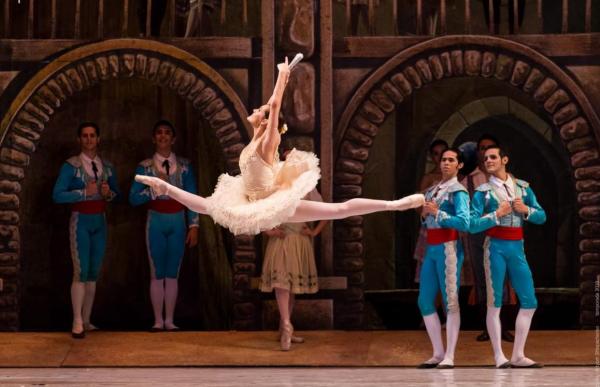
The theme of the Dia de los Muertos events this year is Mictlán, a tribute to pre-hispanic culture. The events in the Angela Peralta Theater will start at 7 pm, with aerial dance, concept art, poetry readings, singing, ballet—it’s an event not to be missed. Free tickets will be handed out in the Plaza Machado starting at 10 am Friday, though the official announcements say Saturday. Be sure to be there early or on time, as the free tickets run out quickly and are limited to two per person. The parade itself starts about 8:00 pm from the Plaza Machado; route map is above.
Please Share!
Many of you have made yourselves up for years, so you are experienced. Not sure if any of the above will give you a few pro tips or not. I would love to hear your favorite makeup techniques and tips; please also share a photo of yourself in your favorite catrina outfit. For our group, it was all new. Now we know to buy some good brushes, blending sponges, and sequins. So, watch out Mazatlán! Here come the catrinas!
Thank you, China!!!! Thank you, Johnny! We so appreciate your generosity and talent!


 One of my favorite artists here in Mazatlán, Rafael Avila Tirado, is opening a show at the Art Museum downtown with a reception at 7:00 pm on Thursday, December 3. Sadly, I’m going to be out of town, but I urge you not to miss it! Rafael has an incredible talent and a deep soul. You will not regret meeting him and seeing his work!
 Sponsored by the Sinaloa Institute of Culture, the show is called Un Murmullo Agrio, Dulce y Nostálgico, or “A Murmur Sour, Sweet and Nostalgic.” In the video below, Rafael tells us about how these adjectives capture Mexico today, and also life in general—the sour: the violence and sadness; the sweet: working the fields, enjoying family; and the nostalgic: cows in the field and other scenes of life on the rancho in Robles where he grew up.